Imaging Equipment Service • C-Arm
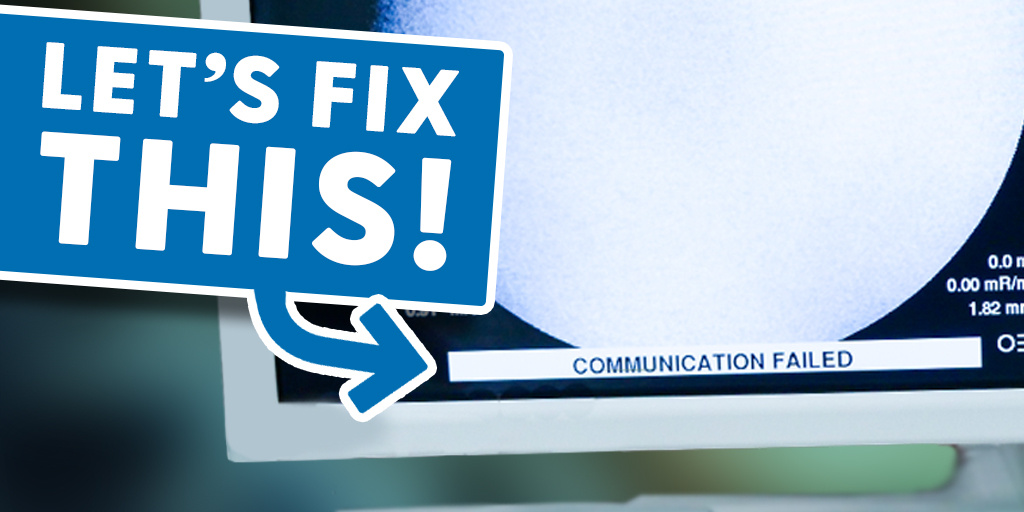
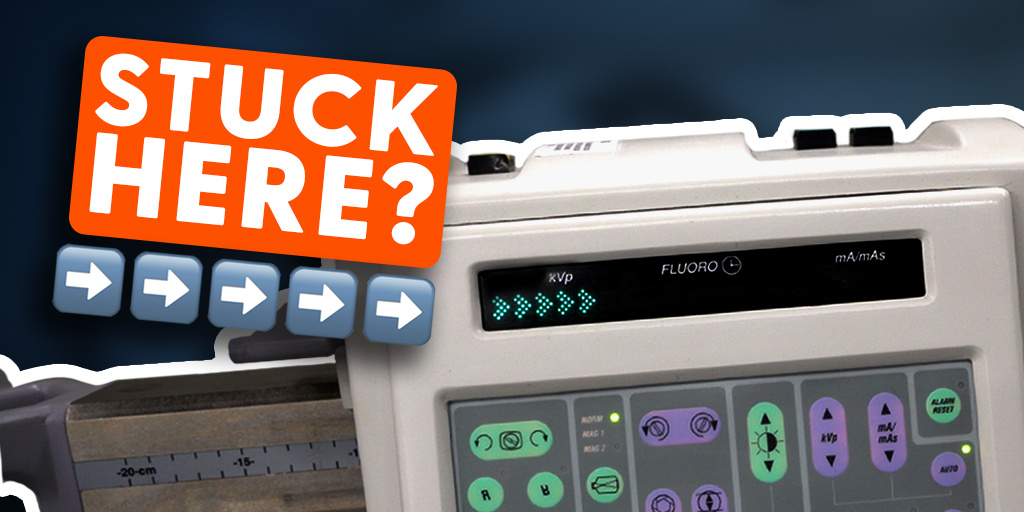
If your system powers on but won’t move past the familiar “Five Arrows” startup screen, the issue is often much simpler than it appears. In many cases, the root cause is a depleted coin cell battery on the SBC (Single Board Computer).
The good news: this is a low-cost, straightforward fix that can often restore full operation quickly. Follow the steps below to get your system back online.
Overview of the Fix:
- Replace the coin cell battery
- Reset and reconfigure BIOS settings
- Confirm a successful system boot
NEED C-ARM PARTS FAST?
We offer same-day shipping on many commonly requested components.
Once you submit a parts request, it is immediately entered into our processing queue. Requests are handled by our service team during standard business hours, followed by a final inspection and secure packaging before shipment.
Request Your Part
Step 1: Replace the Coin Cell Battery
Begin at the workstation by removing the rear panel. Once removed, open the internal access panel to expose the system boards.
Inside, locate the Single Board Computer (SBC). It is typically positioned as the third board from the left. On the SBC, you’ll find a small coin cell battery.
Remove the old battery and replace it with a standard coin cell (commonly available and inexpensive). After replacement, the BIOS settings will need to be reset before the system can boot correctly.
Step 2: Reset the BIOS
Connect a Service Monitor and Keyboard
With the rear panel still open, locate the VGA port and the DIN-5 keyboard connector on the SBC.
Connect your service monitor and keyboard, then power on the workstation.
Enter the BIOS Menu
As the system begins to start, immediately press and hold the Delete key on the keyboard.
This will open the BIOS setup interface. Using the arrow keys, navigate to Load Optimized Defaults.
Select the option, press Enter, confirm with Y, then press Enter again.
Update BIOS Settings
Next, navigate to Standard CMOS Features, located near the top-left of the BIOS menu.
Verify and update the following:
- System date
- System time
- IDE Primary Master
Ensure the current date and time are entered correctly. For the IDE Primary Master, confirm that a device is detected—this indicates the hard drive is communicating properly.
Enable the Onboard Network Controller
Press Escape to return to the main BIOS menu. Scroll to Integrated Peripherals and press Enter.
Within this menu, locate Onboard LAN Controller and ensure it is set to Enabled.
This setting is required for proper network communication, including DICOM connectivity.
Save and Exit BIOS
Once all settings are verified:
- Press Escape
- Press F10
- Select Y
- Press Enter
This saves all changes and exits the BIOS.
Step 3: Confirm a Successful Boot
After exiting the BIOS, allow the system to continue booting normally. If the procedure was successful, the workstation should load fully and display the patient information screen, confirming normal operation.
Final Notes
A system failing to boot past the Five Arrows screen can appear serious at first, but in many cases, it’s simply the result of a depleted SBC coin cell battery.
Replacing the battery and restoring BIOS settings often resolves the issue quickly. If problems persist after completing these steps, further diagnostics may be required.
If you need parts, technical support, or guidance beyond this fix, reach out to your service provider for assistance.